The Bread I Make for Our Family
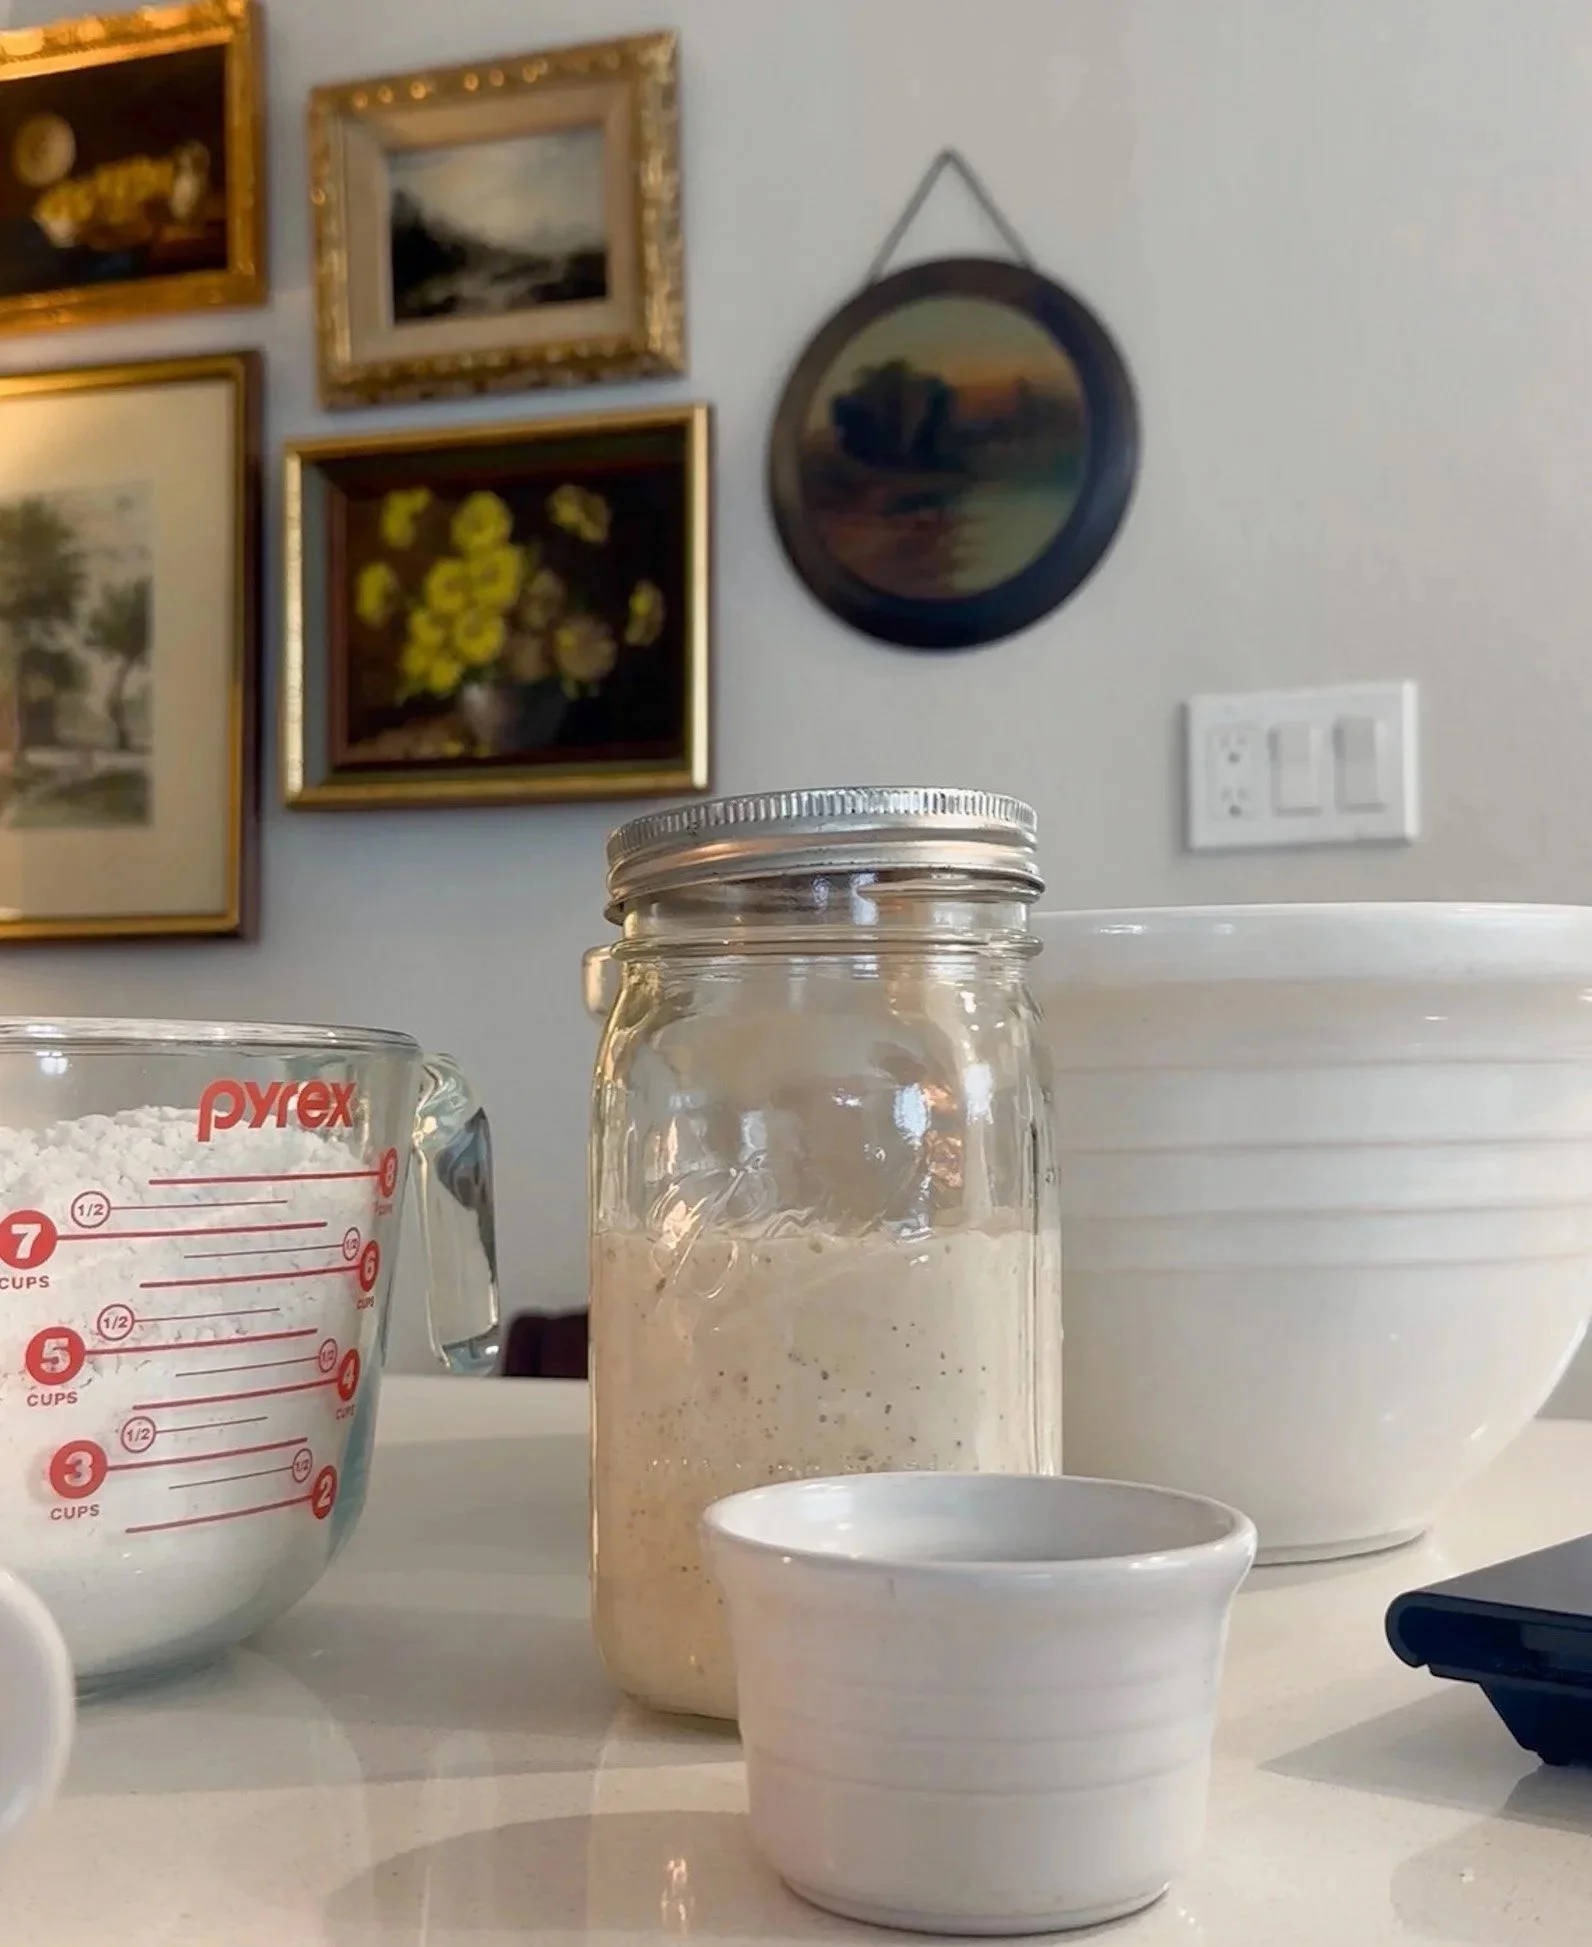
Six years ago, one of my closest friends dropped off a jar of sourdough starter, a cookbook, and a promise that it wasn't nearly as scary as it sounded.
The cookbook was Artisan Sourdough Made Simple, and she was right.
I started making bread, and over the years it has become one of those homemaking skills I genuinely love.
I don't make it every week. Some weeks are busy, some seasons are full, and during the summer especially, travel meant my starter spent quite a bit of time living in the refrigerator.
But when life settles down and I have the time, I love having a bread-making day.
I usually make four loaves at a time, which means that one stretch of work can give us bread for several meals. One loaf goes on the counter, ready for breakfast and lunches, and two or three go into the freezer for later.
That's what I love about learning a useful homemaking skill: it doesn't have to happen perfectly or on a schedule to be useful.
Sourdough Is a Staple in Our Home
We eat bread at almost every meal.
For breakfast, there's avocado toast or buttered toast. And my girls have very specific requirements for butter toast: it needs to be very toasted, with enough butter that it's practically melting off the edges.
For lunch, there's grilled cheese and tomato soup, sandwiches, or whatever else needs a piece of bread alongside it.
And at dinner, I love having bread available for all sorts of things: alongside chicken noodle soup, as a tri-tip sandwich, turned into garlic bread, or topped with tomatoes for bruschetta.
That's why I've come to think of sourdough as a gift that keeps on giving.
The work happens earlier, and then the bread keeps showing up in our lives.
When I Make Bread
When I do make bread, I tend to like starting early in the day so that we can have fresh bread for dinner and several loaves ready for the days ahead.
But my actual schedule changes.
Some weeks I have plenty of time. Other weeks are too busy. Sometimes we're traveling. Sometimes the starter has been sitting in the refrigerator for a while because life has simply gotten in the way.
And that's okay.
I've learned to think about the day ahead and work the bread around our life rather than trying to make our life work around the bread.
For me, it's almost always better to start early than to start late.
My Sourdough Method
This is the method I've settled into over the years. It isn't the only way to make sourdough, and it certainly isn't where I started.
I've learned from my sisters, friends, cookbooks, and plenty of trial and error. I've changed recipes, adjusted the timing, and slowly figured out what works for our family, our schedule, and our tastes.
The Night Before
I make two leavens.
For each one I use:
25 grams sourdough starter
125 grams water
125 grams organic all-purpose flour
I mix them together and leave them on the counter at room temperature overnight.
I use the organic all-purpose flour from Costco for both my starter and my bread. Nothing particularly fancy.
My starter lives in the refrigerator. When I need it, I take it out and feed it with:
30 grams starter
60 grams water
60 grams flour
I mix it and put it back in the refrigerator until the next time I need it.
And apparently, after six years, I am one of those people who regrets not naming her sourdough starter.
If you have one, name yours.
I missed my chance.
The Next Morning
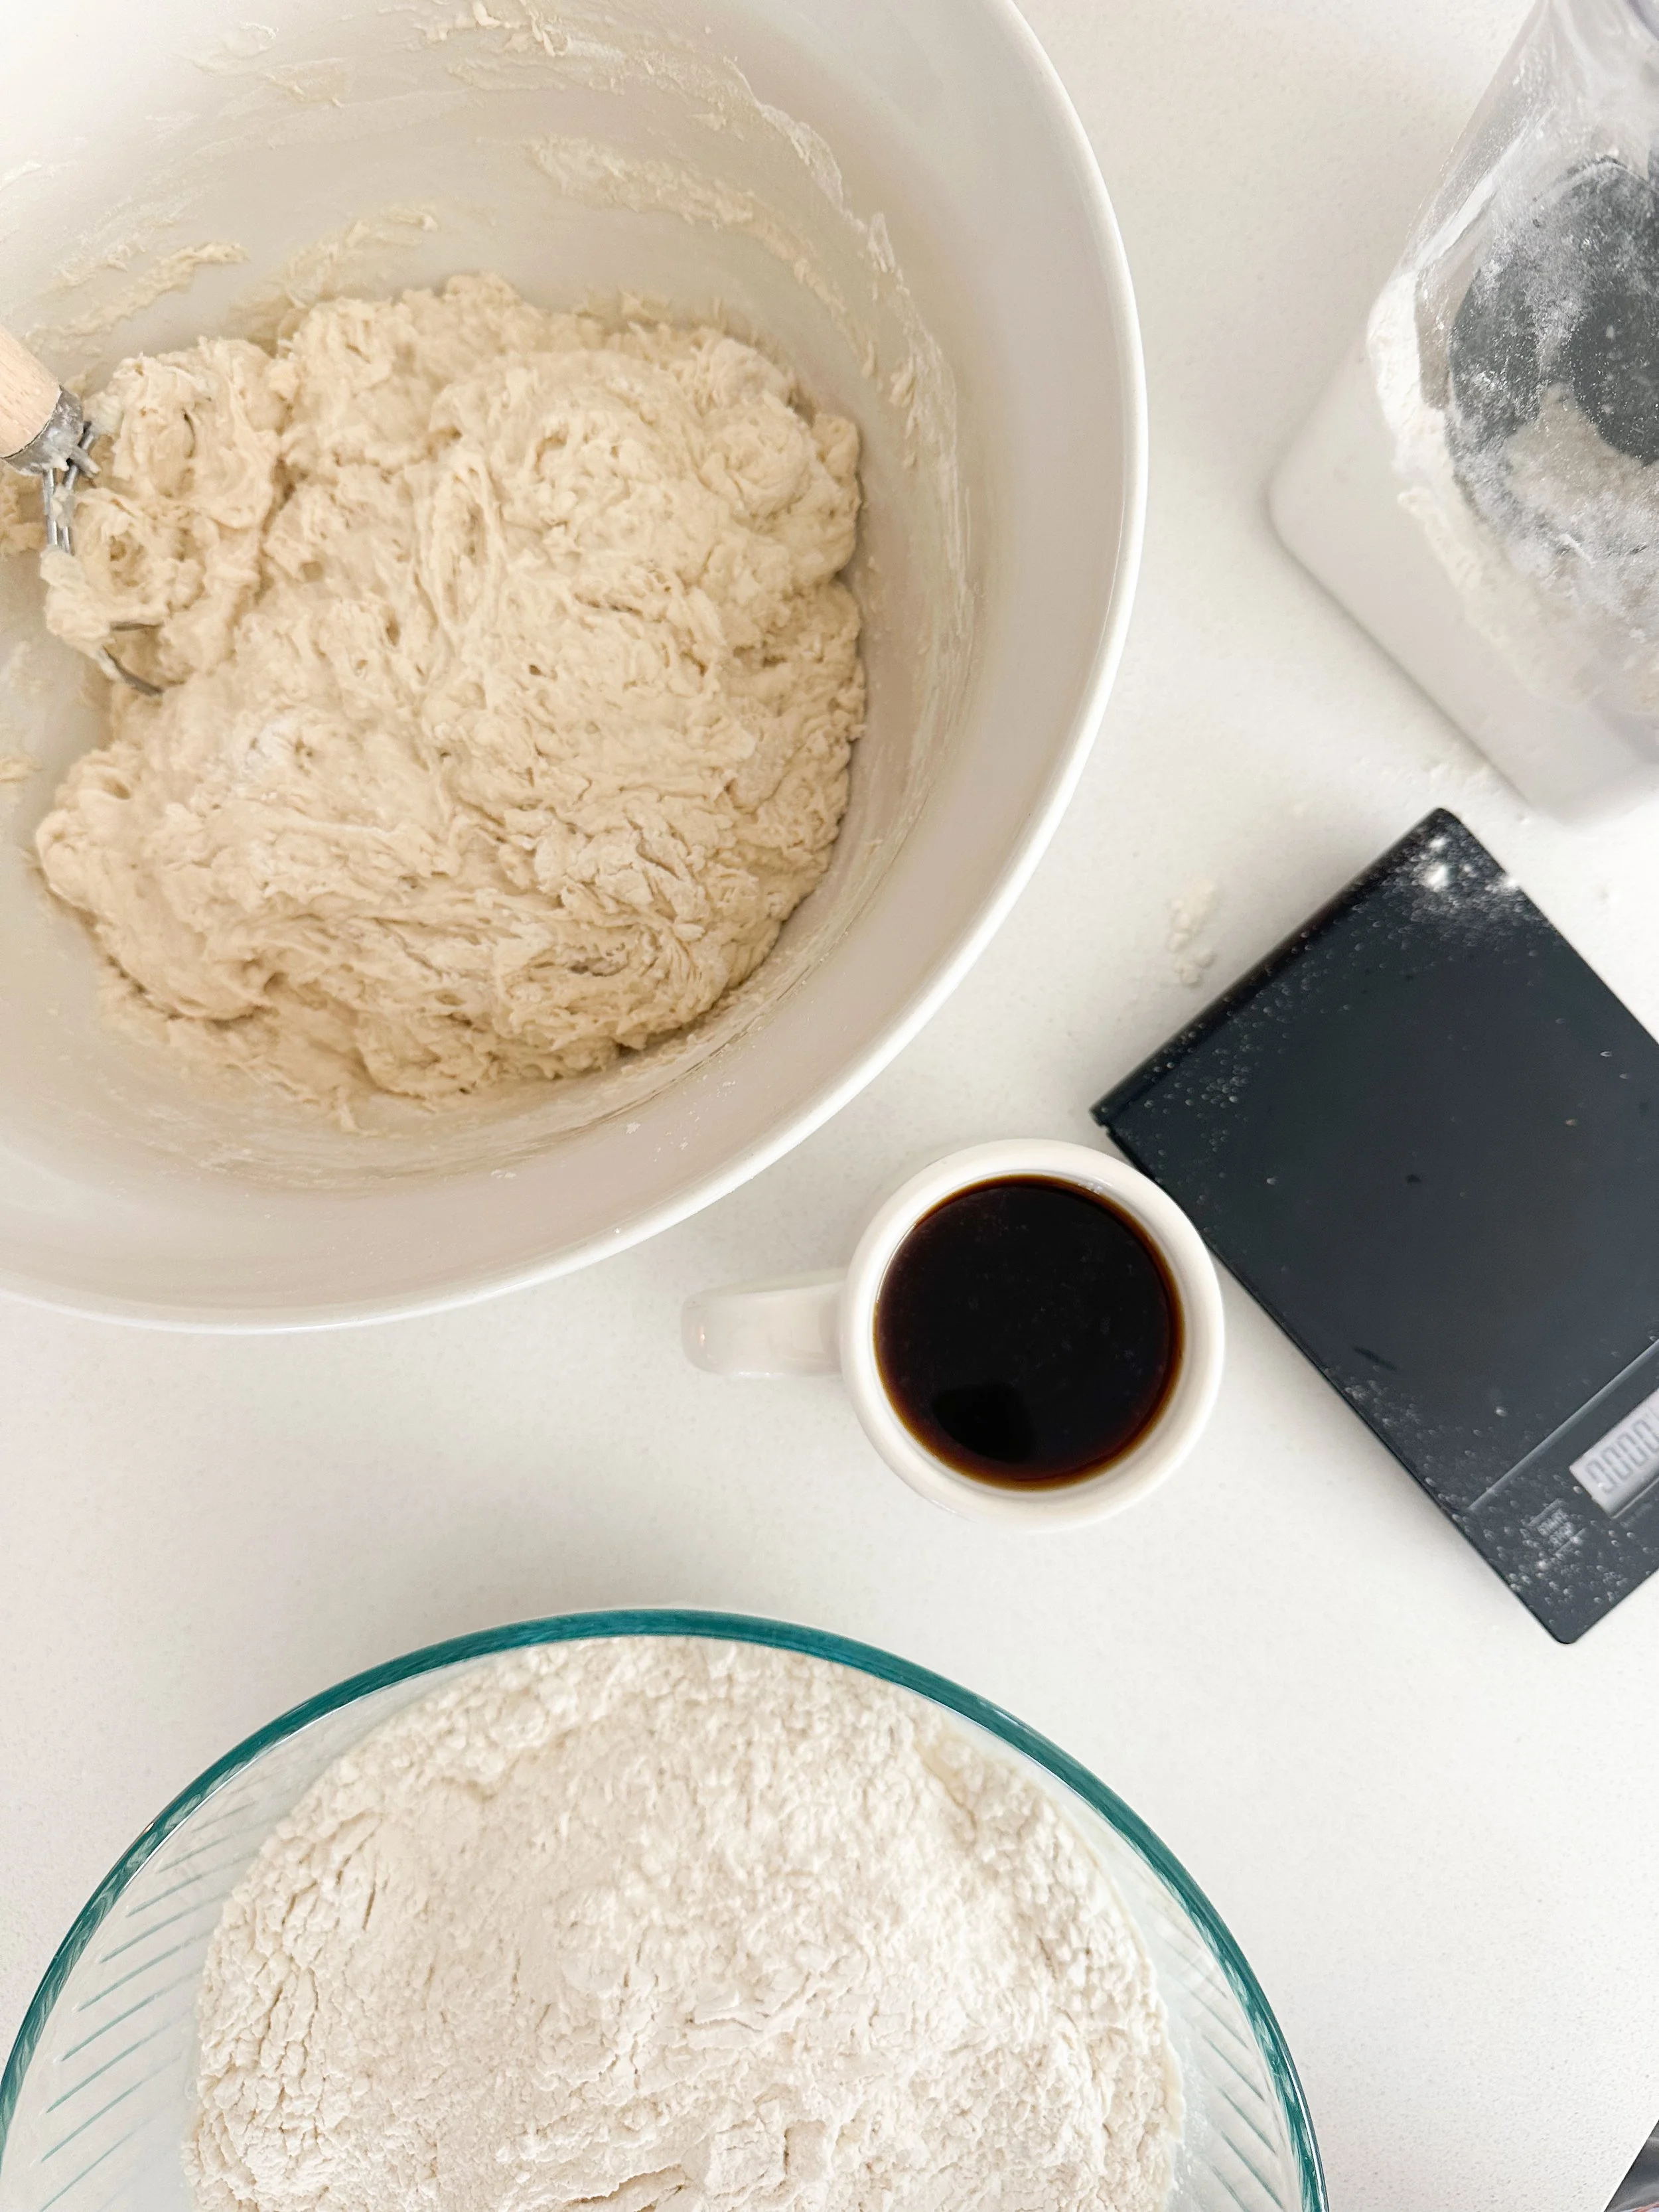
By morning, the leaven is ready and I make two separate batches of dough.
I do this rather than making one enormous batch because it's much easier to manage in a normal-sized mixing bowl.
For each batch I use:
approximately 275 grams leaven
800 grams flour
560 grams water
16 grams salt
The amount of leaven is approximate because I use what I can get out of the jar. This is one reason I love a wide-mouth jar for my starter and leaven. It makes getting it out much easier.
I mix the flour, water, and leaven together.
If I have the time, I wait about 20–40 minutes before adding the salt. If I'm in a hurry, I add it right away.
I've heard that giving the flour, water, and leaven some time together before adding the salt can help with gluten development, and I've found that this works well for me. But it's not a step I stress over.
That's another thing I've learned from making bread for six years:
Don't obsess over exact timing.
A little flexibility is okay.
Building the Dough
For the next three hours, I work with the dough approximately once every hour.
Sometimes that's a simple round of folds. Sometimes I'll do slap-and-folds to help build structure.
And I actually enjoy this part.
Slap-and-folds sound much more intimidating than they are. Once you get the hang of them, they're almost therapeutic.
After those first three hours, I leave the dough on the counter to bulk ferment for another six to eight hours.
This is probably the part that took me the longest to understand.
Learn What Your Dough Is Telling You
I wish someone had explained overproofing to me when I first started making sourdough.
Timing matters, but learning what properly fermented dough feels like is much more useful than becoming obsessed with the clock.
There have been plenty of times when my dough didn't look the way I expected.
I've learned not to panic.
I've even put a sticky, overproofed dough into a bread pan before and ended up with a perfectly pleasant loaf that my kids loved.
And if all else fails?
Cut it up, toss it with olive oil, herbs, and salt, and make croutons.
There are worse things.
Shaping the Loaves
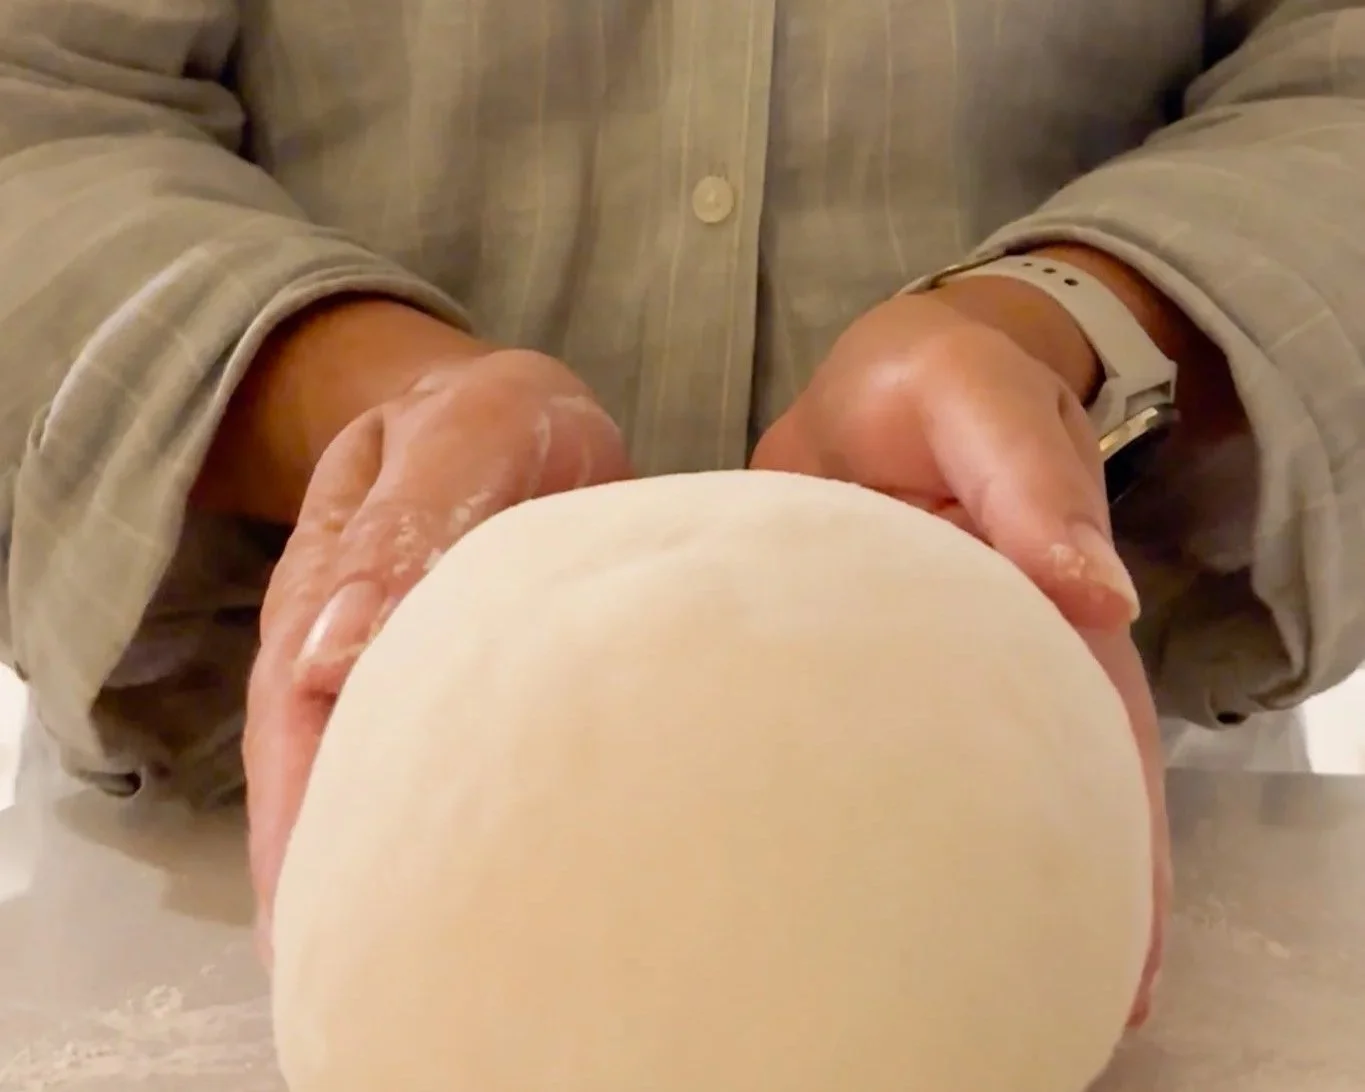
Once the dough has finished its bulk fermentation, I divide each batch in half, giving me four pieces of dough.
I shape each one, using some slap-and-folds and a little pushing and pulling until the dough is nice and round.
Then I let the four loaves rest for about 30 minutes.
After that, I lightly flour each one and place it on parchment paper.
Then I score the bread.
While the dough is resting, I preheat my oven to 450°F with my Dutch ovens inside so they're nice and hot when the bread is ready to bake.
Baking
I place the loaves into the hot Dutch ovens and put the lids on.
I bake them covered for 9 minutes, then take them out briefly to give them a second score.
Back into the oven they go, covered, for another 13 minutes.
That's 22 minutes covered altogether.
Then I remove the lids and bake for another 20 minutes.
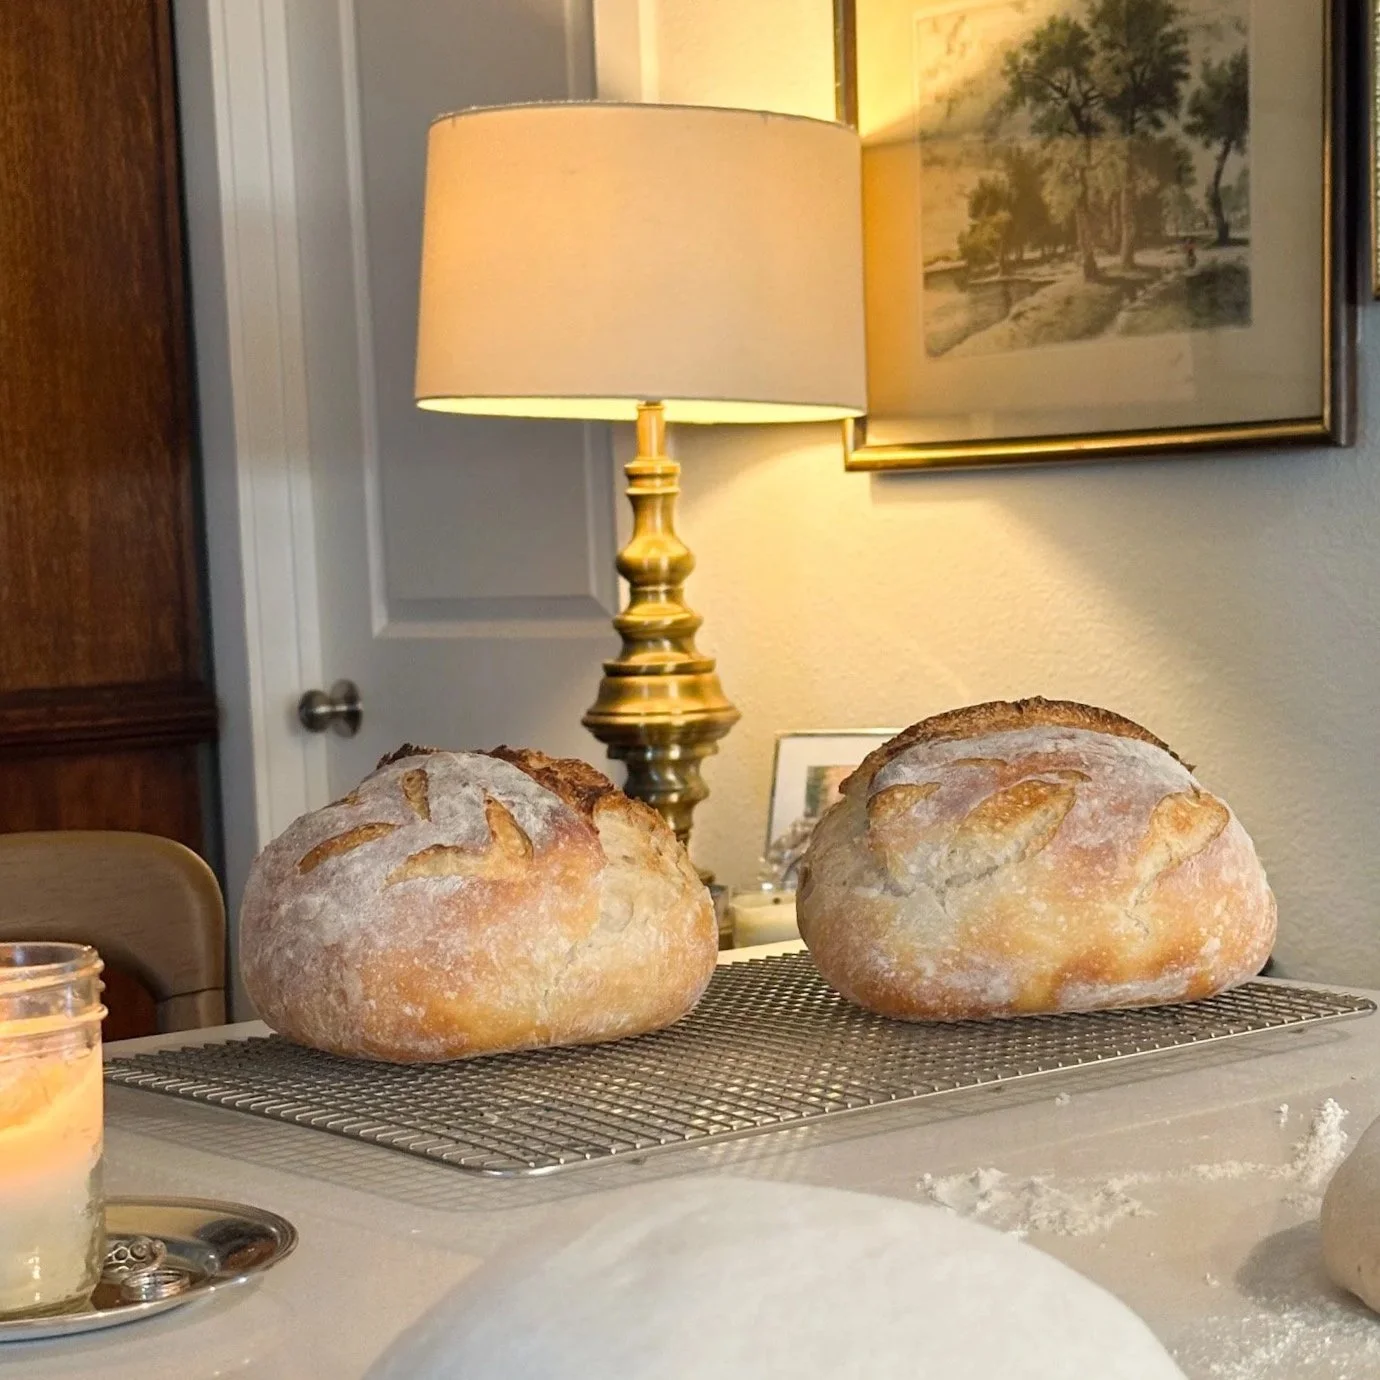
Finally, I take the loaves out of the Dutch ovens and place them on a cooling rack.
And this is the hardest part:
Wait.
I know you want to cut into that loaf.
Try to give it at least an hour to cool.
It really is worth it.
How I Store Four Loaves
Once the bread is completely cool, I put two or three loaves into zip-top bags and freeze them.
The loaf we're currently eating stays on the counter in a beeswax bread bag.
When we need another loaf, I simply pull one from the freezer and let it thaw.
This is one of the reasons I recommend making more bread than you think you need.
You're not necessarily committing yourself to baking four loaves every week. You're building a little reserve for your future self.
And I find that very satisfying.
What I've Learned Along the Way
If I could go back and talk to myself when I first started making sourdough, these are the things I'd tell myself:
Don't obsess over exact timing. A little flexibility is okay.
Don't panic when the dough looks different than expected. Get to know your dough rather than expecting it to look exactly the same every time.
Learn what properly fermented dough feels like. This will serve you better than watching the clock.
Don't be afraid of slap-and-folds. They're actually fun.
You don't need a perfect schedule. Work bread into your life rather than trying to make your life revolve around bread.
Make more than you need and freeze it. Future you will be glad you did.
Don't be afraid to change a recipe. The recipe is a starting point. Over time, you learn what works for your flour, your kitchen, your family, and your schedule.
And perhaps most importantly:
Bake early rather than late.
At least that's what works for me.
It's much nicer to have the bread finished and cooling on the counter than to realize at 6 p.m. that the dough still needs another few hours.
A Homemaking Skill Worth Learning
I've made sourdough for more than six years now, and I still wouldn't call myself a sourdough expert.
That's part of what I like about it.
I learned by doing.
A friend gave me starter and a cookbook. My sisters taught me things. Friends shared what worked for them. I tried different methods, made mistakes, overproofed dough, adjusted recipes, and eventually developed a process that works for our family.
That's really how most homemaking skills are learned.
You don't have to master everything before you begin.
You learn one thing. You practice it. You make mistakes. You figure out what works for your household. And eventually, something that once felt intimidating becomes ordinary.
And ordinary is exactly what I love about it.
Making bread isn't an event in our house anymore.
It's just something I do.
A little flour on the counter. A loaf cooling by the window. Toast in the morning. Bread beside dinner. A few loaves waiting in the freezer for another day.
A small skill that has become part of the rhythm of our home.
And maybe that's what homemaking is, in the end: learning the little things that allow you to care for the people you love.
And maybe that's what homemaking is, in the end: learning the little things that allow you to care for the people you love.
My Sourdough at a Glance
Makes: 4 loaves
Leaven — make twice
25g starter
125g water
125g flour
Mix and leave at room temperature overnight.
Dough — per batch
~275g leaven
800g organic all-purpose flour
560g water
16g salt
Make two separate batches.
Method
Mix flour, water, and leaven. If desired, wait 20–40 minutes before adding salt.
Work the dough approximately once every hour for three hours, using folds or slap-and-folds to build structure.
Bulk ferment on the counter for another 6–8 hours.
Divide each batch in half to make four loaves. Shape and let rest for 30 minutes.
Flour, place on parchment, and score.
Preheat Dutch ovens in a 450°F oven while the dough is resting.
Bake covered for 9 minutes. Remove and score again, then return to the oven covered for another 13 minutes.
Remove the lids and bake for 20 minutes more.
Cool on a rack for at least one hour before cutting.
Once completely cool, freeze extra loaves in zip-top bags. Store the loaf you're using on the counter in a beeswax bread bag.
A note about this recipe
This is my method after years of making sourdough for my family. There are many ways to make bread, and this is simply the process I've found works for our household.
If your timing, flour, starter, or technique looks a little different, that's okay.
The goal isn't to make sourdough perfectly.
The goal is to learn a skill well enough that it becomes useful in your own home.
Related reading: [The Homemaking Skills Worth Knowing]